Hi techies! Today will see “How to Install Rocky Linux 8.4 Step by Step with the screenshots”, Rocky Linux is the replacement for CentOS 8.
So at the end of Dec 2021, there will be no updates for CentOS then we have to use Rocky Linux on our Production environments.
So let’s begin with the Step by Step Installation or guide to Install Rocky Linux 8.4 with Screenshots.
STEP 1: Download the ISO file to Install Rocky Linux.
You can download the ISO file on their official Website, and after downloading the ISO file and make the ISO files bootable.
Once you make the ISO file bootable, then reboot the installation host and press the BIOS keys to Install the Rocky Linux 8.4.
STEP 2: Welcome Screen Rocky Linux 8.4
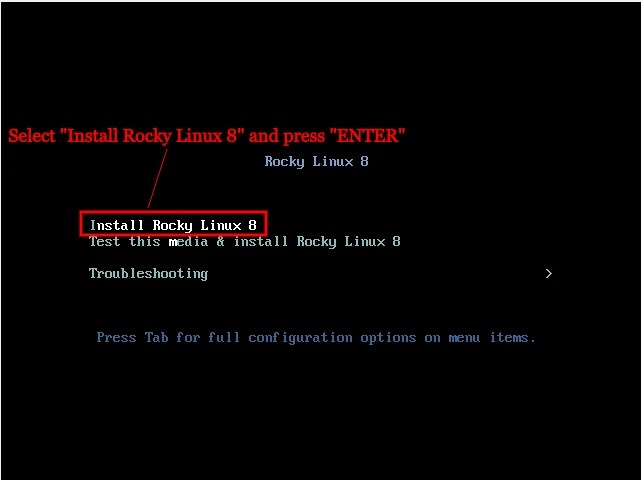
So, we have to select the first option and “press Enter” to proceed further.
STEP 3: Select the preferred language for the installation process
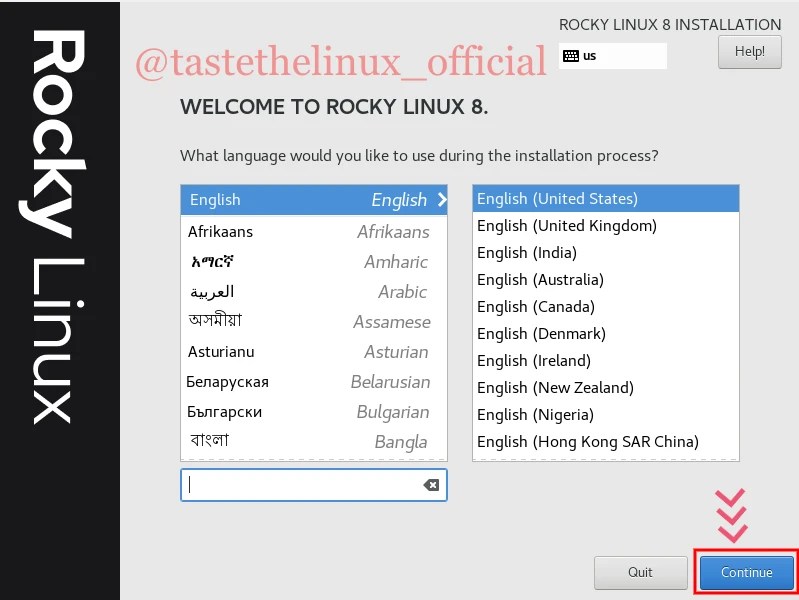
So, select your preferred language and click on “Continue” and proceed with the Installation Summary
STEP 4: Installation Summary
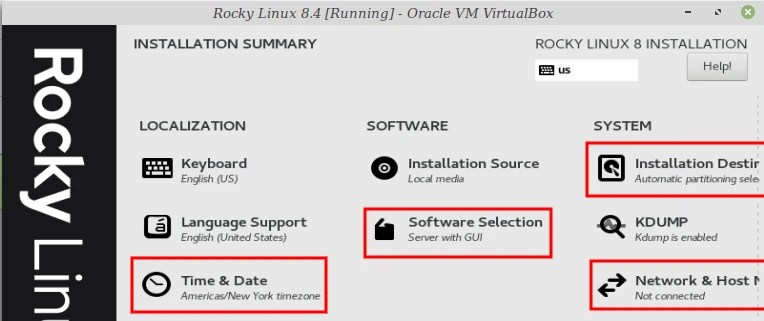
On the installation summary, Localization, Software, System, and User’s Settings, which we have to install.
On the Localization, we have configured the Keyboard and language Support on Step 3. let’s configure Timezone.
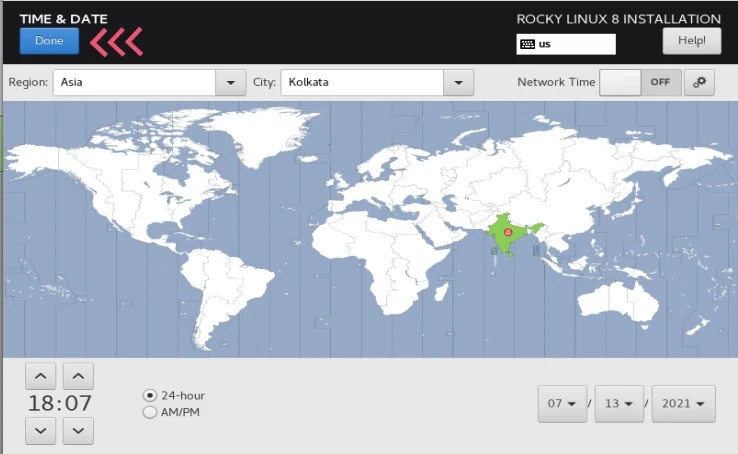
Just select the timezone of your choice and click on “Done”.
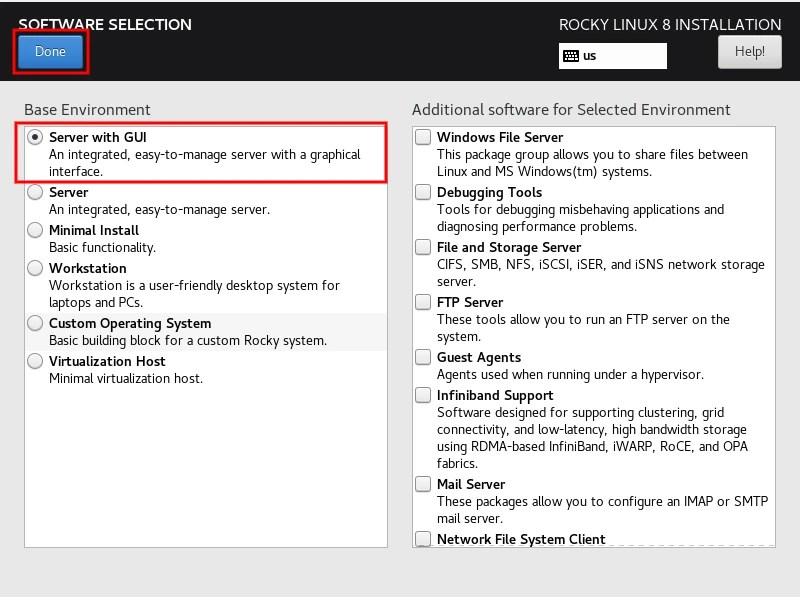
Now click on “Software selection” and select “Server with GUI” or you can select the Base Environment of your choice.

Then from the Installation Summary, we will select “Installation Destination” see our HDD Size which is already selected.
So if we select “Automatic“, it will create the partition automatically, and if we have to create the partition of our choice then select “Custom”.
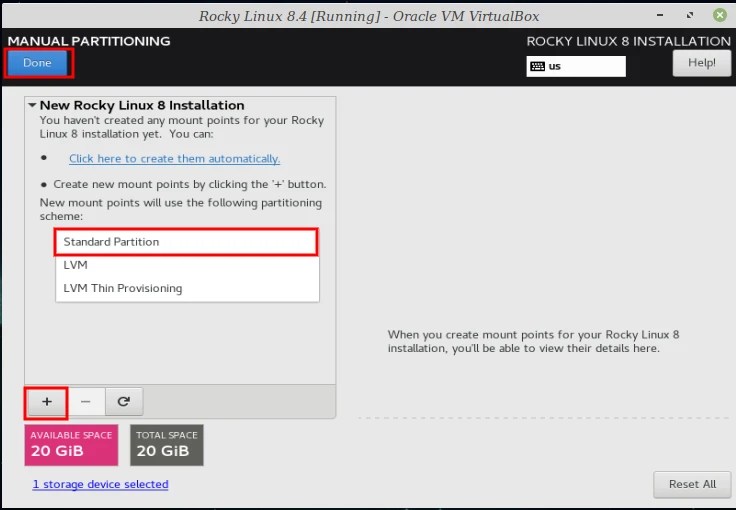
Click on “Standard Partition” and click on the “+ icon” to add the partition, then it will open pop-up.
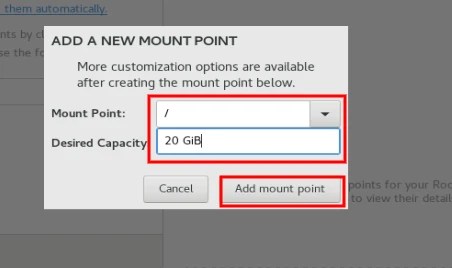
Here, we will only select the “/ partition” as Mount Point, give the “required Size” and click on “Add mount point”.
You can create /var, /usr, /home. ,. etc as per your requirement.
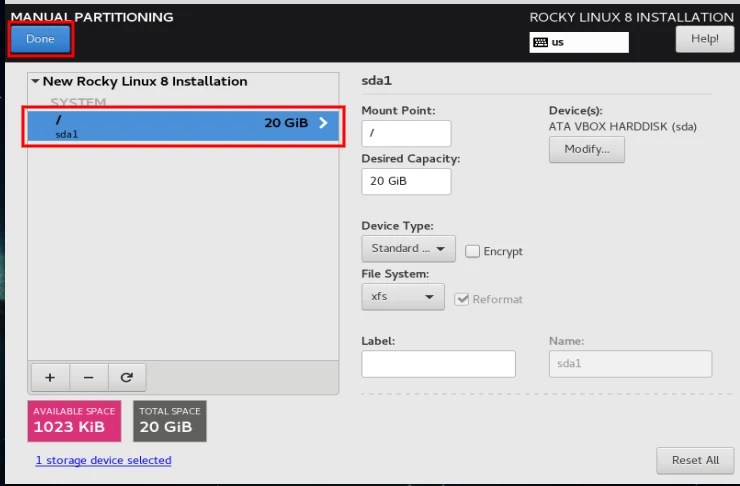
Once the partition has been created then click on “Done”.
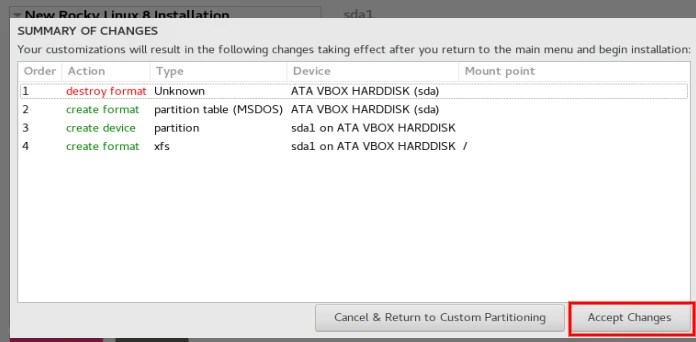
Then it will show the summary of the partition that we have created, click on “Accept Changes”.

Now we will configure the Network and Hostname of the System.
So we have Just “ON” the Ethernet connection and it got the IP address via DHCP.
Now let’s change the hostname, here we have to keep the hostname as “tastethelinux.com” and clicked on “Apply”.
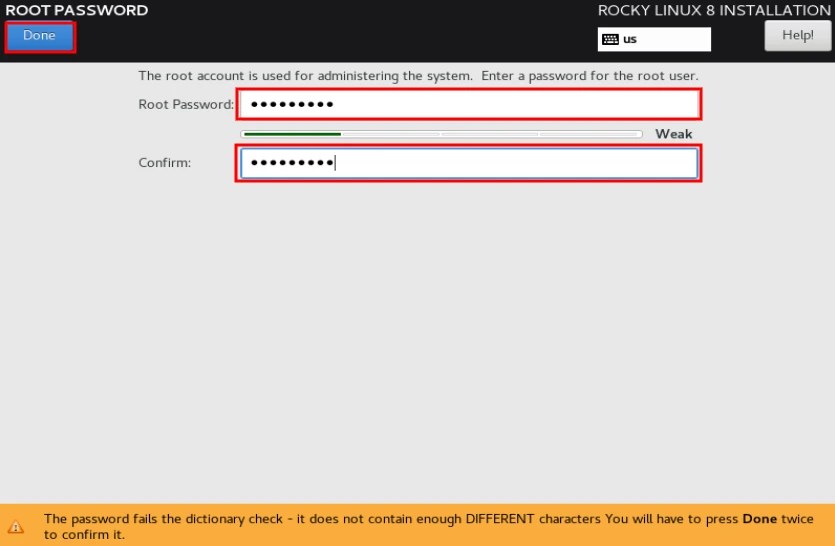
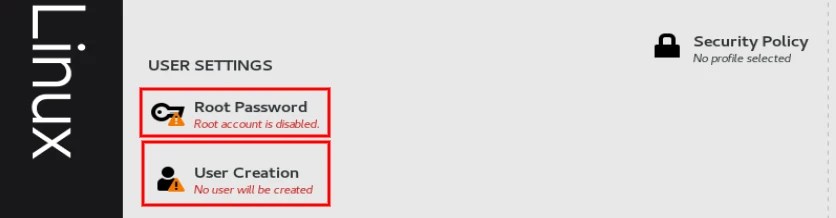
From the User setting Section, we will set the ROOT password and click on “DONE”.
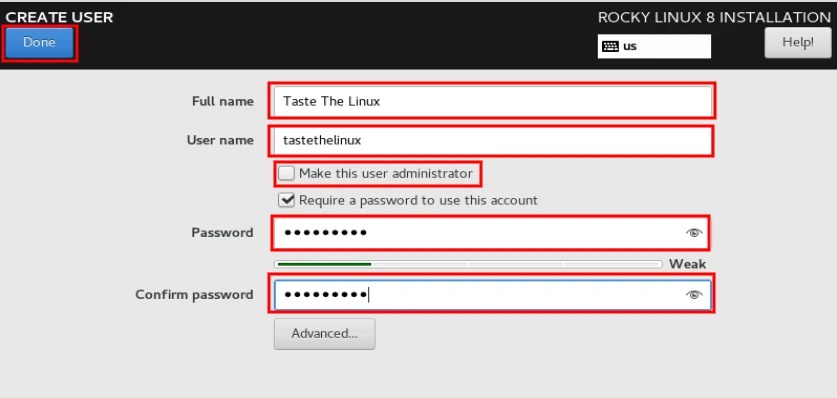
So now we will create one user, if we want to make the user an administrator, then select the check box fill the boxes and click on “Done”.

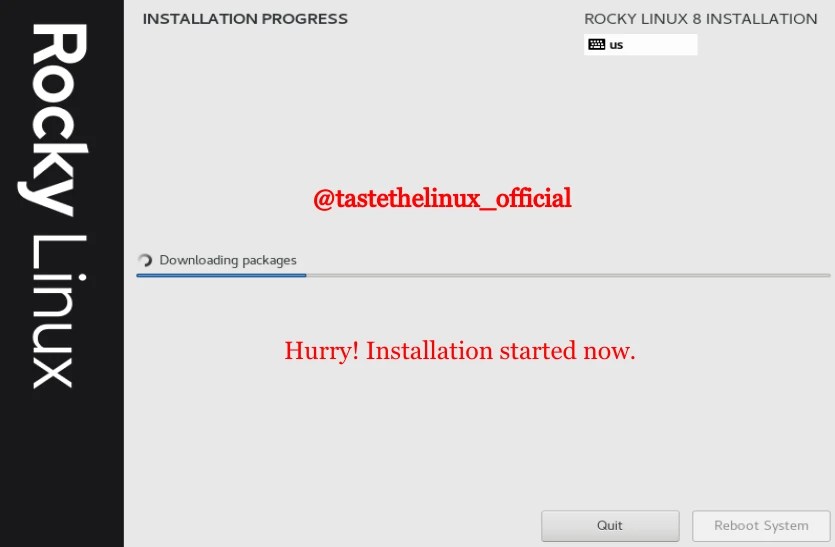
Just click on “Begin Installation” then it will start the Installation Process.
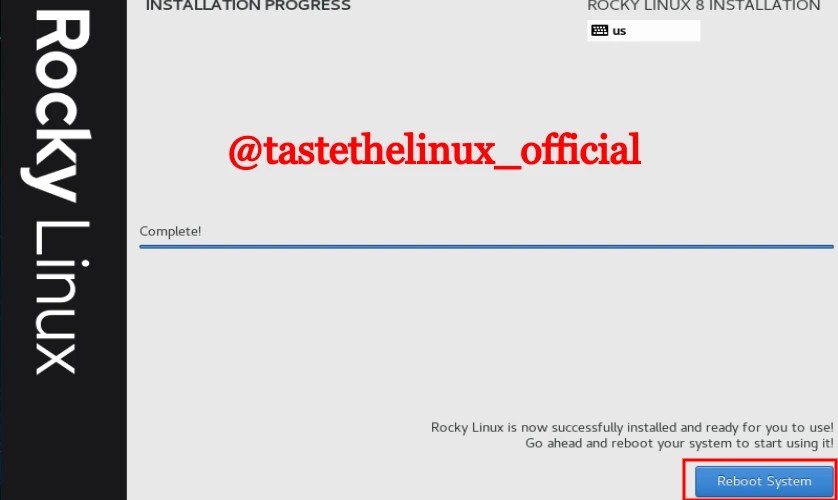
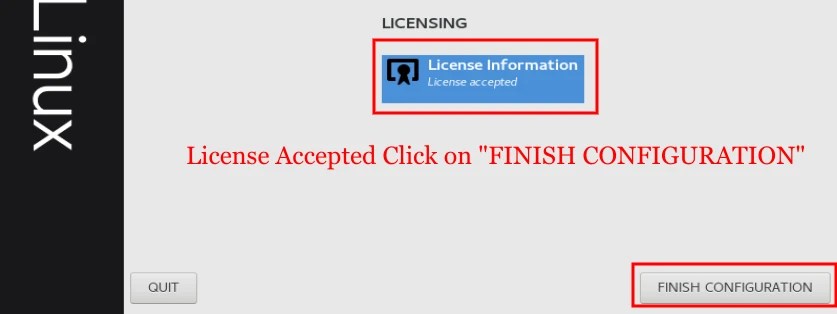
Just “Reboot System” and it will now ask for the license.
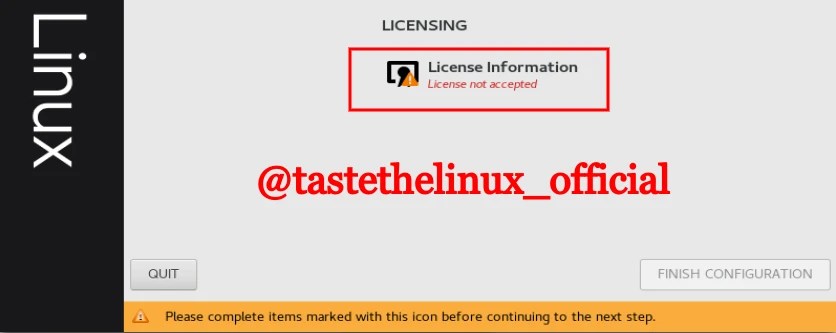
Select the “License Information” and Accept the License by selecting the checkbox, then click on “FINISH CONFIGURATION”.
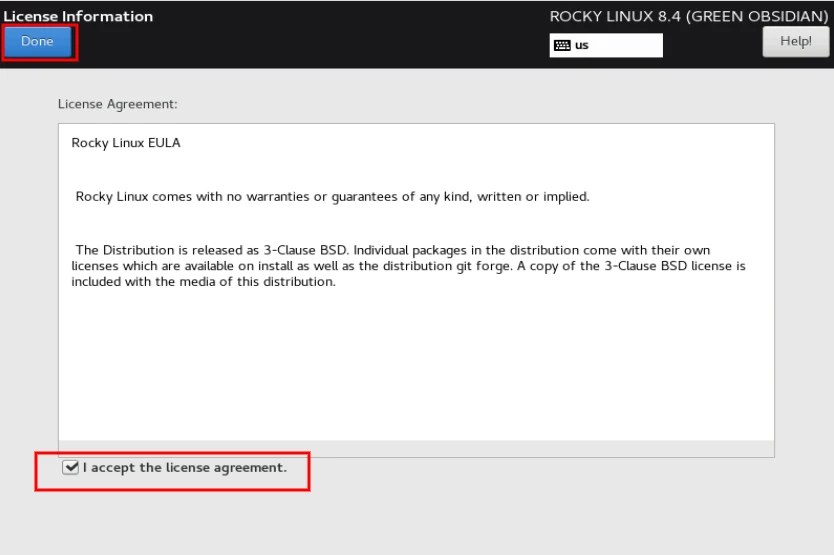
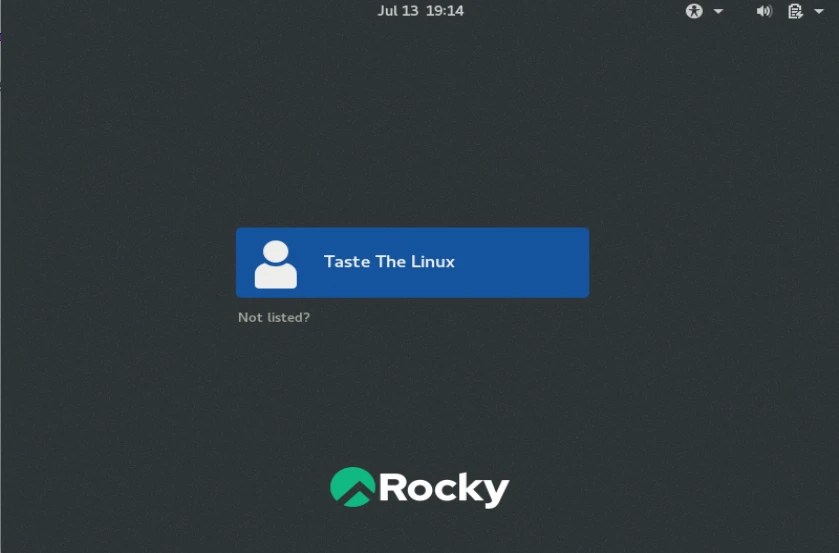
So finally, we have done the installation of Rocky Linux 8.4.
If you want to install Linux Mint latest version follow the Linux. Thanks to read the post keep learning and keep growing.
Give your valuable time